
Filling Out the Standard E-Alert Application
The user should complete a new application webform with relevant information to submit an E-Alert. There are webform sections that remain the same across all interface types. These sections are referred to as the "standard" E-Alert application.
Complete a Standard E-Alert Application
- Fill out the following fields in the General Information
section:
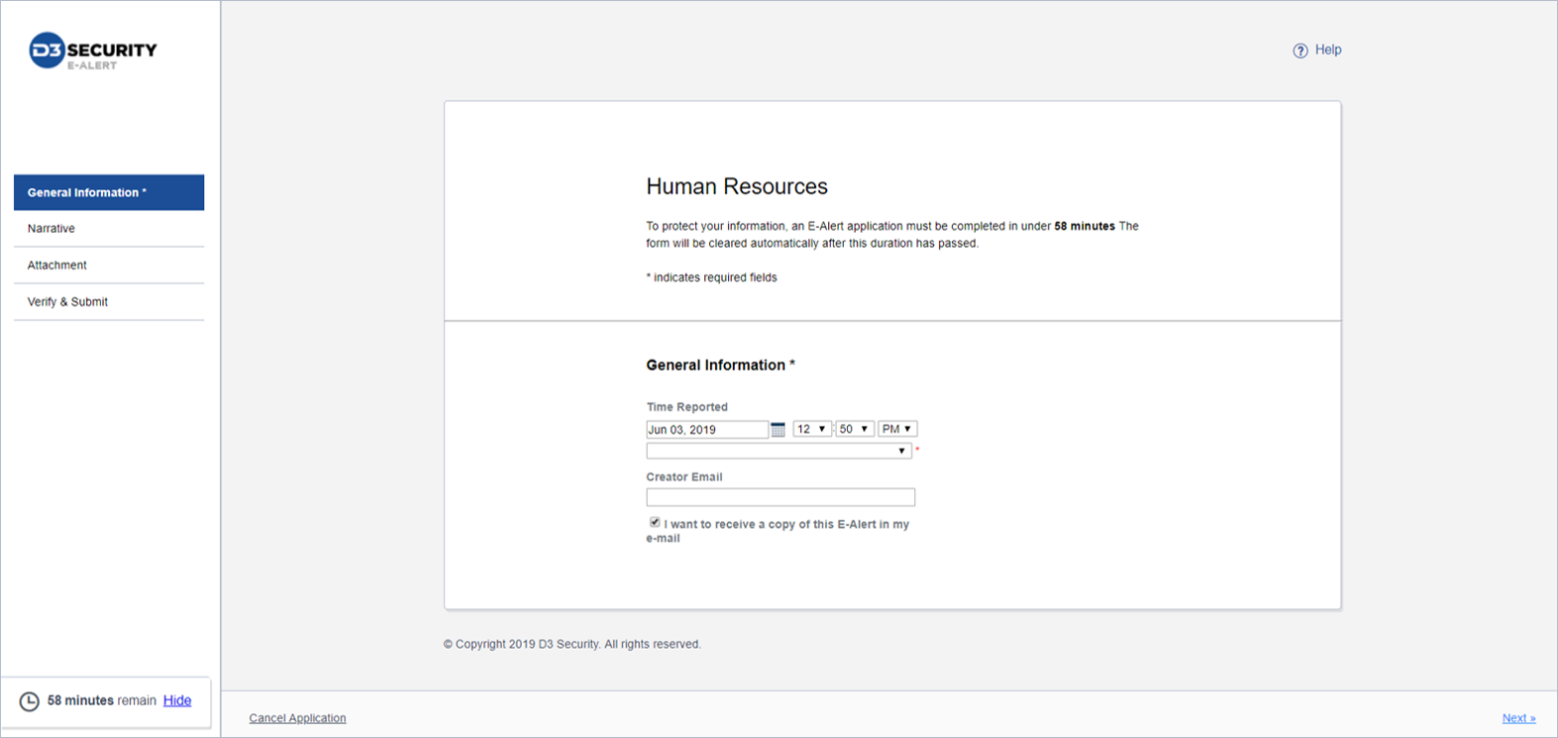
- Time Reported: Enter reporting time and date.
- Timezone: The timezone selection is a mandatory field,
indicated with an asterisk (*). The user must select an appropriate
timezone from the drop-down list. A prompt appears if the user
attempts to submit the webform without filling in this
field.Note: The system administrator can enable the E-Alert Reported Time Lock in the Admin Tool. With this setting enabled, the user cannot select or change the Time reported and Timezone elements on the application webform.
- Creator Email: The user can enter the email address in this
field. The entered email address will appear in the E-Alert details
within the vSOC application. If the user wishes to remain completely
anonymous, it is recommended to leave this field blank. Note: The user can choose to receive an email of the contents of the submitted E-Alert. To do this, the user can fill in the email address and click the checkbox I want to receive a copy of this E-Alert in my e-mail.
- Click the Next button on the bottom right corner to continue to the Narrative section. Enter additional details in the text box if applicable.
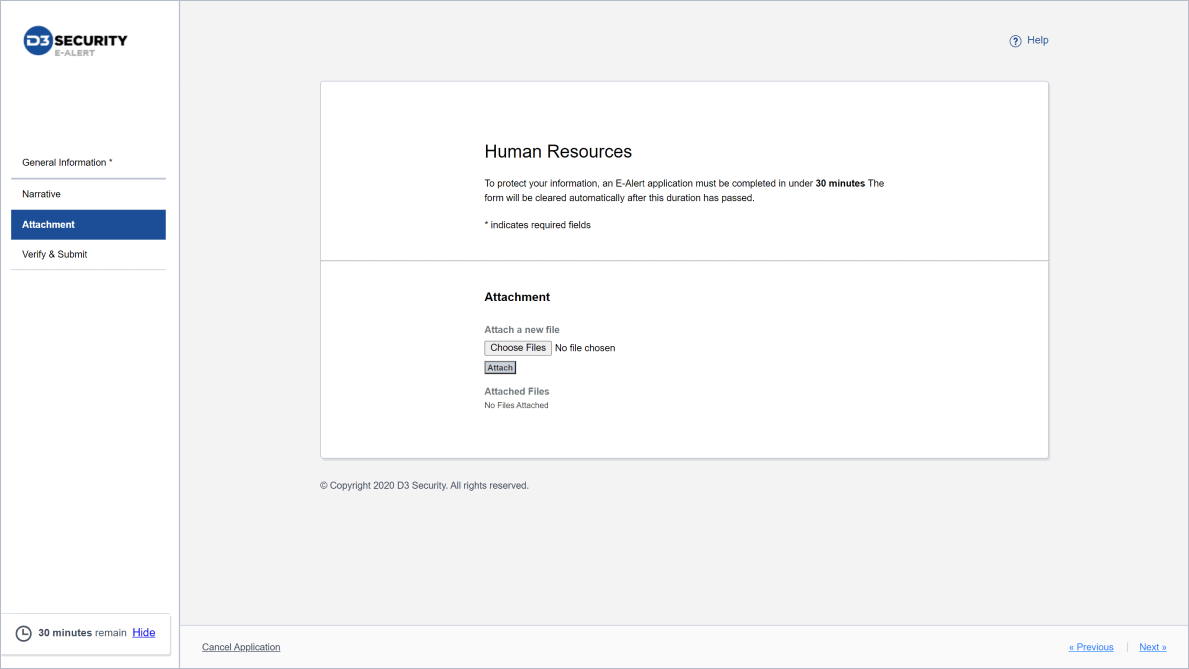
- Click the Next button on the bottom right corner to continue to the
Attachment section.To support the report, one or more files may be attached or to the application webform. Attached files can also be removed.
- Click the Choose Files button under Attach a new file in the Attachment section.
- Select the file(s) from a local computer to attach. To select multiple files, hold the Ctrl key.
- Click the Attach button.
- Add Description in the text box under each attached file.
- To remove a file, click the
 button to the left of the file name
in the Attachment section.
button to the left of the file name
in the Attachment section.
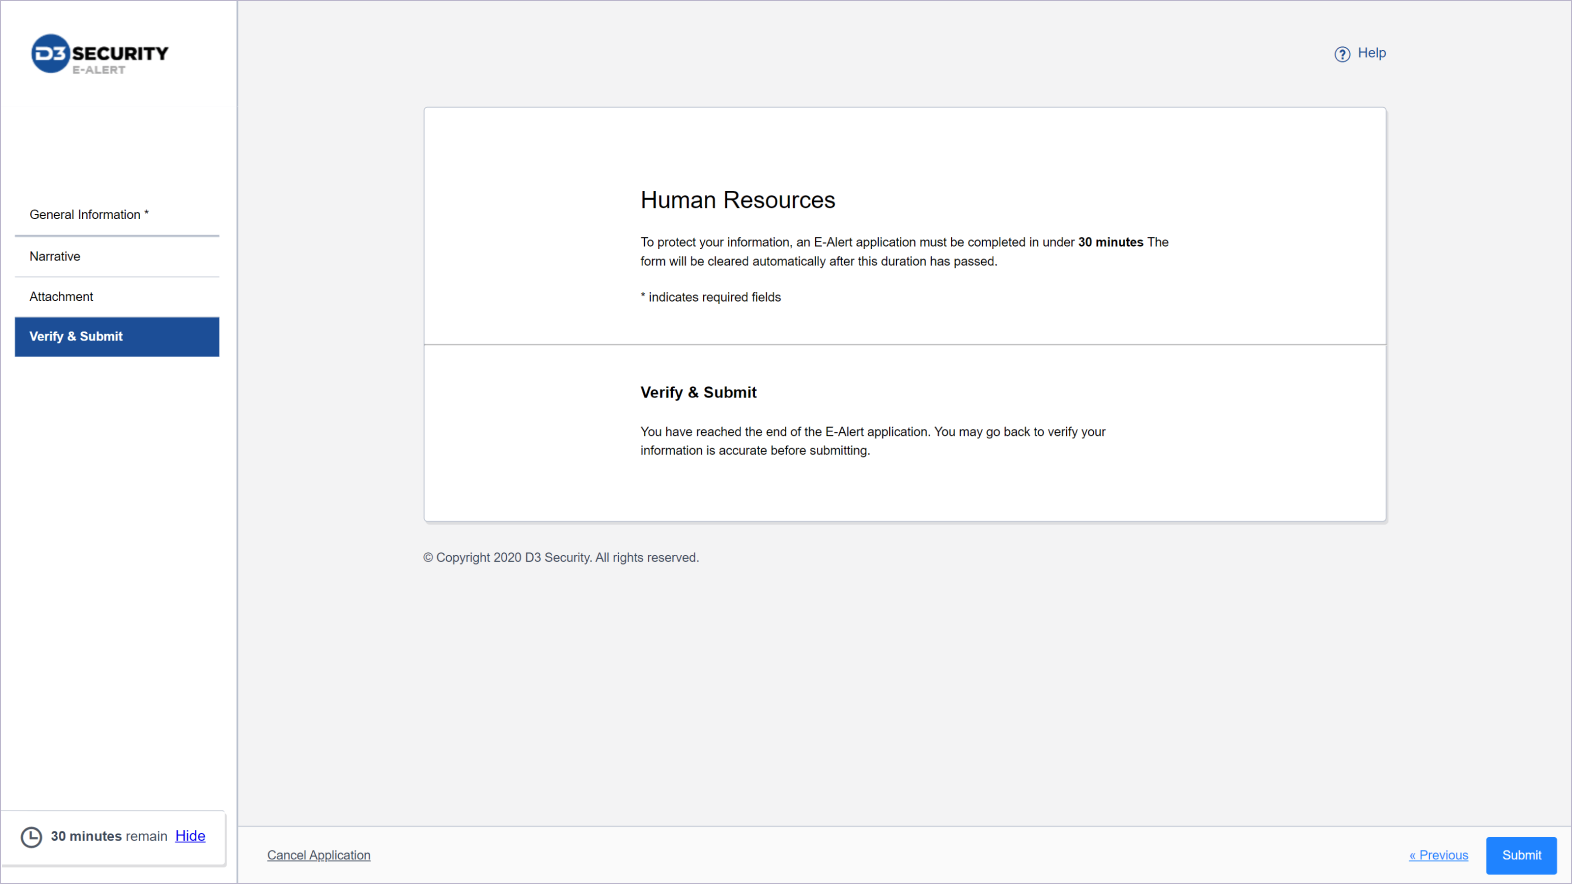
- Click the Next button on the bottom right corner to continue to the
Verify & Submit section. This page reminds the user to verify
the information provided are accurate before submitting.
 Note: The system administrator can activate the reCAPTCHA security feature via the Admin Tool. If this feature has been activated, the user must click the "I'm not a robot" checkbox to proceed.
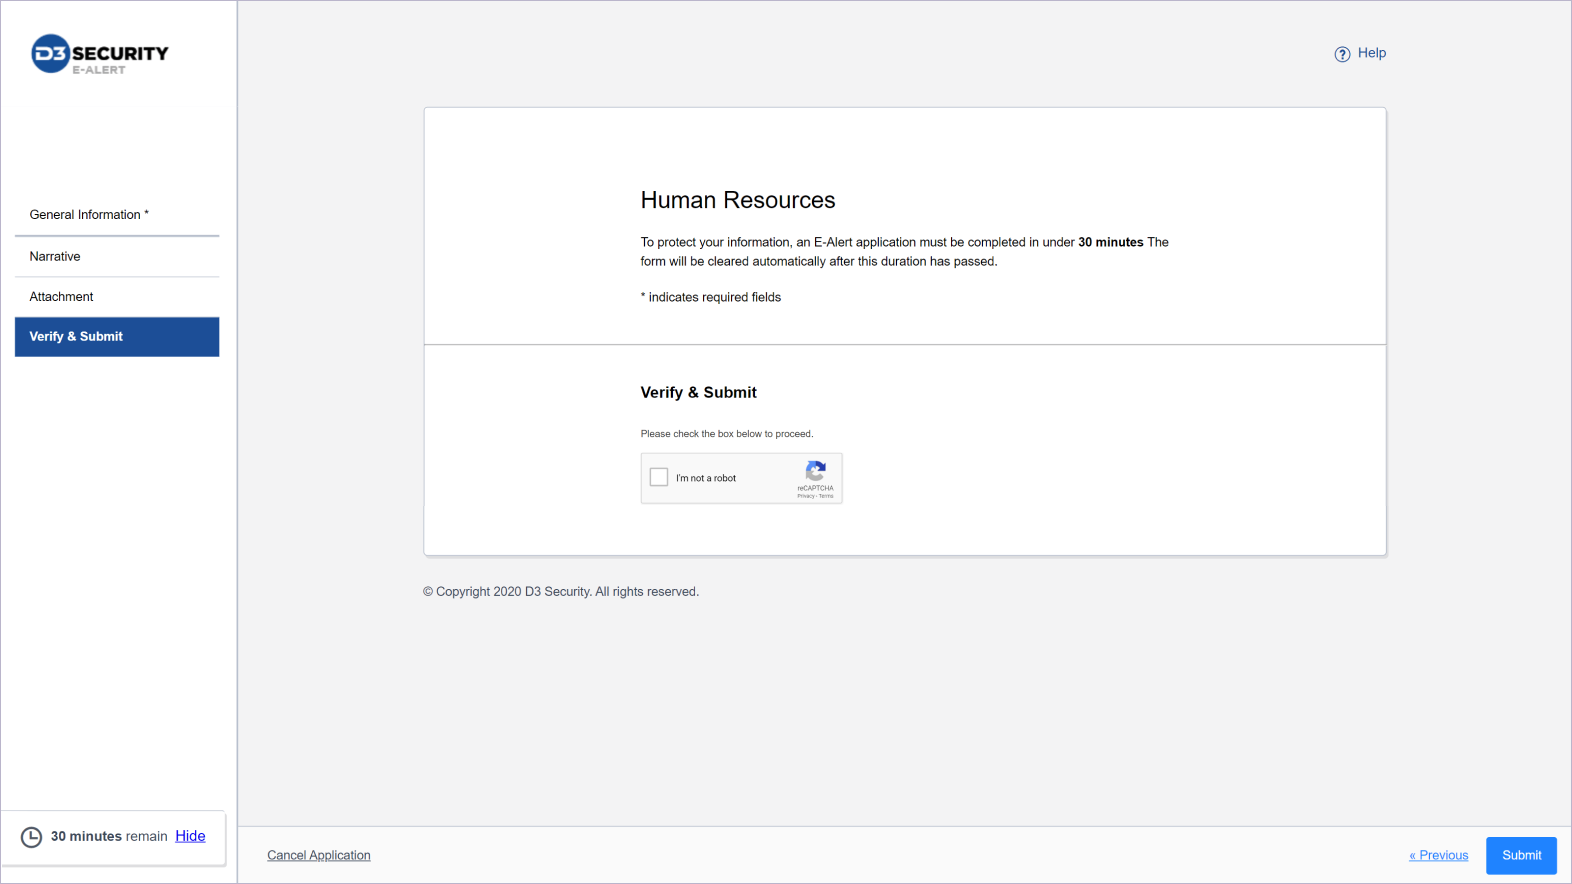
- Click the Submit button on the bottom right corner to submit the
application webform.Result: The next screen provides the submittor with a ticket number and confirmation of submission.
- The interface displays the default confirmation text and ticket
number when an E-Alert has been successfully submitted.
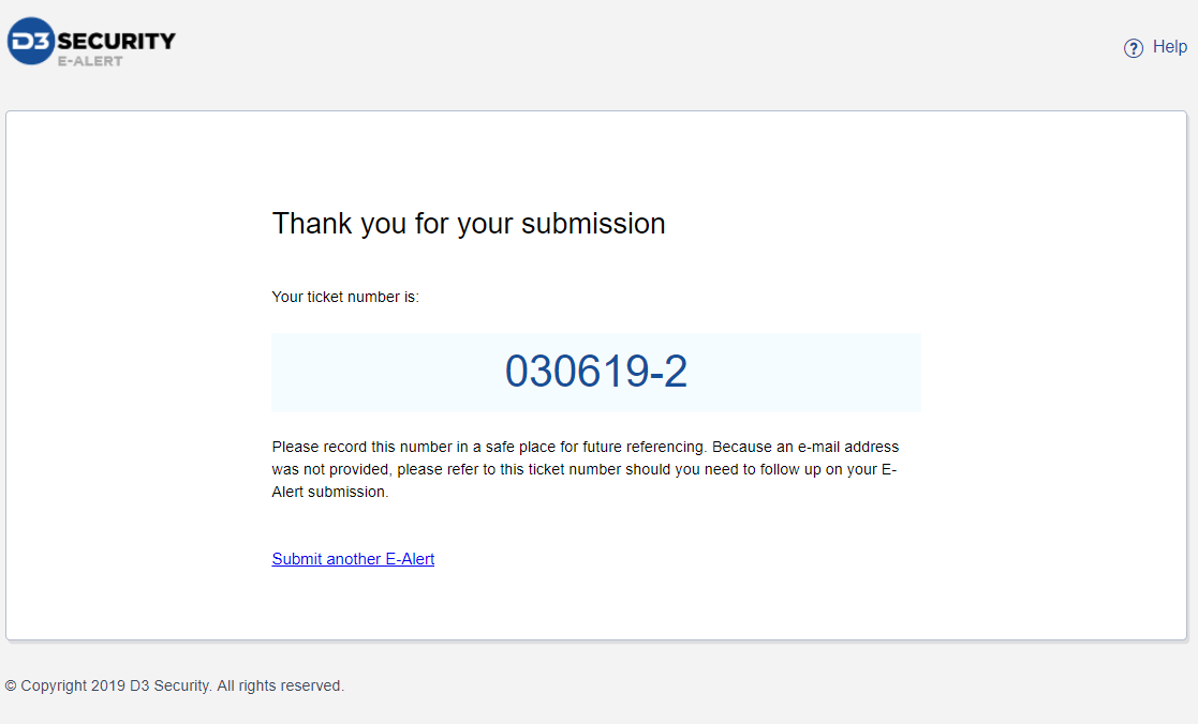 Note: The system administrator can customize this text and insert an image in the Admin Tool.
 - Click Submit another E-Alert on the bottom of the page to be
redirected to the E-Alert index page.Note: The system administrator can redirect the user to either the E-Alert Index Page or Greetings Page when the Submit another E-Alert button is clicked.
After Submission
Once an E-Alert ticket has been created, the designated users in the same site are immediately notified via email. The corresponding ticket number will appear on the user’s Operational Dashboard, where the user can review full details and associated or linked records. The vSOC user logging into the same site as the E-Alert interface can only view submitted E-Alerts.